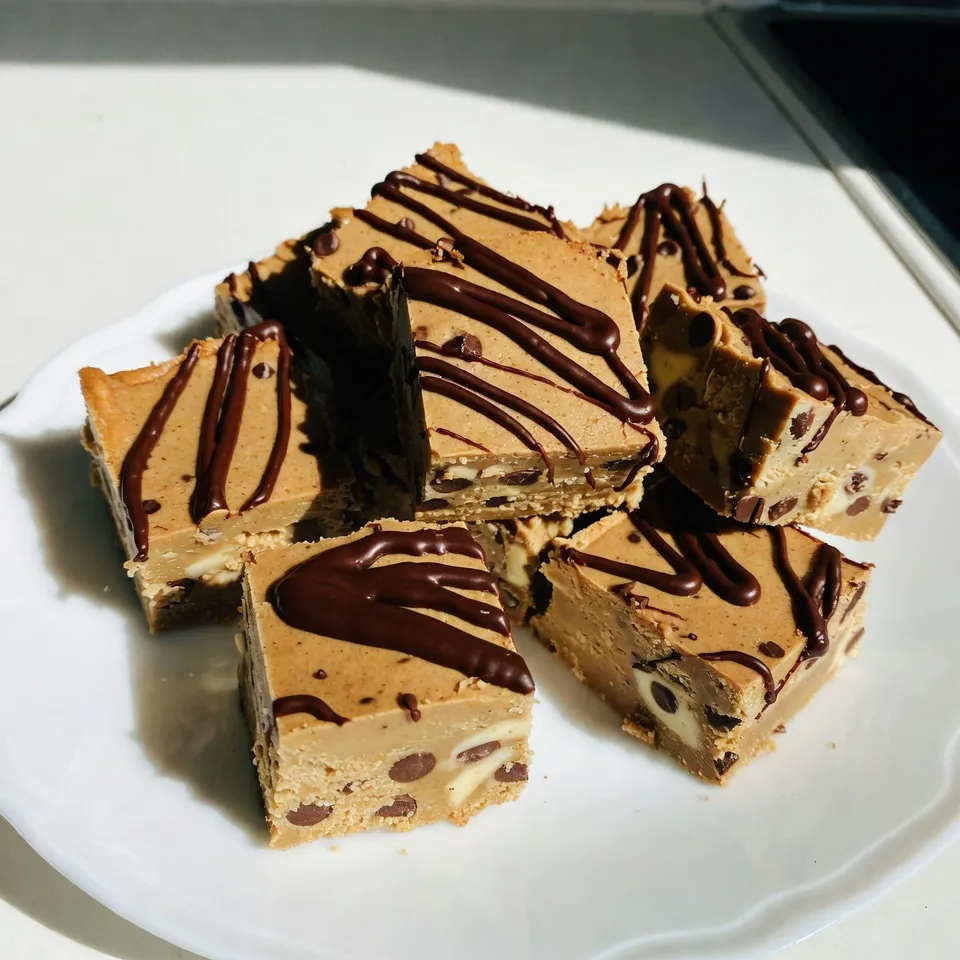
If you love chocolate and sweet treats, you’re in for a real delight! My Chocolate Chip Cookie Dough Fudge is rich, creamy, and super easy to make. It combines the best of cookie dough and fudge into one irresistible dessert. Whether you want a treat for yourself or a gift for someone special, this fudge will wow anyone who tries it. Let’s dive into this delicious recipe and create something amazing together!
Why I Love This Recipe
- Decadent Flavor: This fudge combines the rich, buttery taste of cookie dough with the sweetness of chocolate, creating an irresistible treat.
- Easy to Make: With no baking required, this recipe comes together quickly and effortlessly, perfect for any skill level.
- Perfect for Sharing: Cut into bite-sized squares, this fudge is ideal for parties, potlucks, or just sharing with friends and family.
- Customizable: You can easily adapt this recipe by adding your favorite mix-ins, like nuts or different types of chocolate.
Ingredients
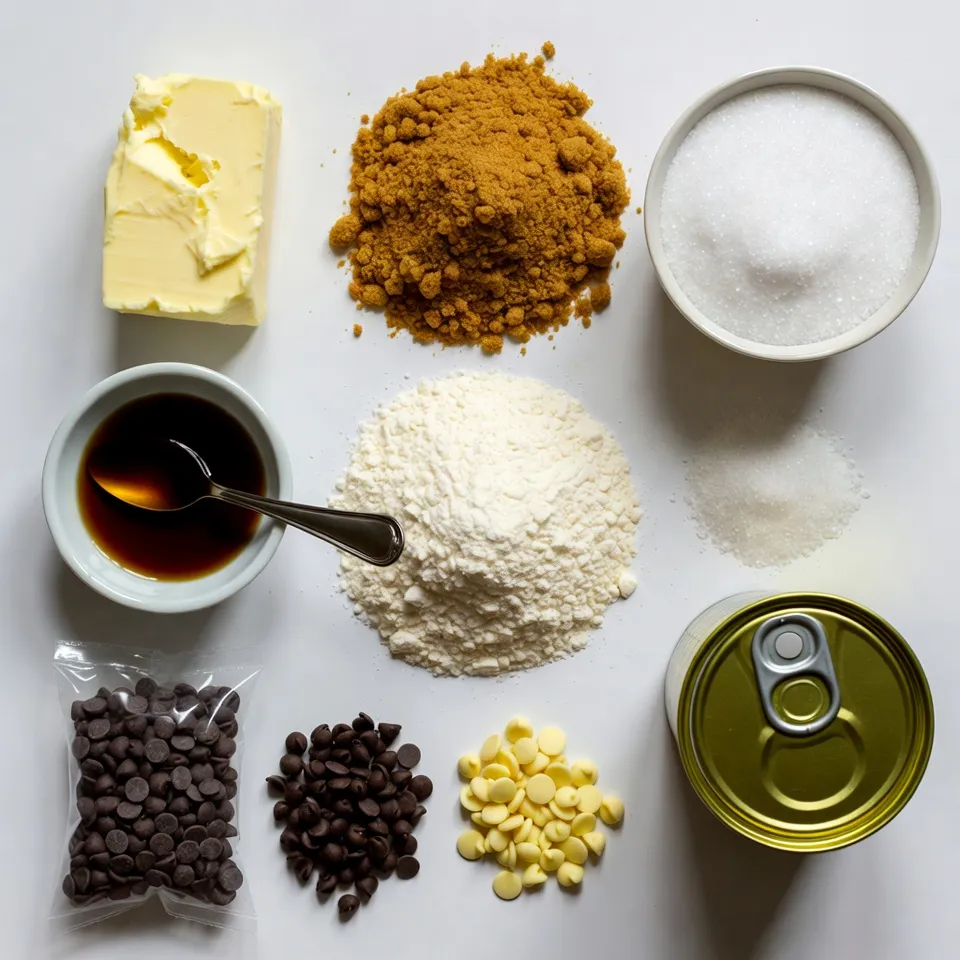
List of Ingredients Needed
– 1 cup unsalted butter, softened
– 1 cup brown sugar, packed
– 1/2 cup granulated sugar
– 2 teaspoons vanilla extract
– 1 cup all-purpose flour
– 1 can (14 ounces) sweetened condensed milk
– 1 cup mini chocolate chips
– 1 cup white chocolate chips
Using high-quality ingredients makes a big difference. Choose fresh butter for a rich taste. Use pure vanilla extract instead of imitation for better flavor. Make sure your chocolate chips are also fresh for the best sweetness.
Optional Ingredients for Customization
You can mix in extra goodies to make this fudge your own. Try adding chopped nuts for crunch. Walnuts or pecans work great. You can also add sprinkles for a fun touch. For more chocolate flavor, use dark chocolate chips. If you like a salty-sweet bite, sprinkle sea salt on top before chilling.
Step-by-Step Instructions
Detailed Recipe Steps
1. Start by creaming the butter and sugars. Place the softened butter in a large bowl. Add the brown sugar and granulated sugar. Mix them on medium speed for about 3-4 minutes. You want it to be light and fluffy. This step builds the base of your fudge.
2. Next, add the vanilla extract. Mix again until it is well combined. Gradually add the all-purpose flour to the butter mixture. Use low speed to mix. Stop when the dough comes together. It should look thick and smooth.
3. Now, fold in the sweetened condensed milk. This makes the fudge creamy. If the mixture feels too thick, add a tablespoon of milk. Finally, stir in both mini chocolate chips and white chocolate chips. Make sure they are evenly mixed into the dough.
Preparing the Baking Dish
Use parchment paper to line an 8×8 inch baking dish. This step is important. Parchment makes it easy to remove the fudge later. Leave some overhang on the sides for easy lifting. This small detail saves you from a sticky mess.
Chilling and Setting Fudge
Cover the dish with plastic wrap. Place it in the refrigerator. Chill for at least 2 hours. This time is crucial for the fudge to set properly. Once firm, you can lift the fudge out using the parchment overhang. Cut it into squares and enjoy your delicious treat!
Tips & Tricks
Common Mistakes to Avoid
– Overmixing Tips: When you mix the dough, do it gently. Overmixing can make the fudge tough. Mix just until you see no dry flour. This keeps the fudge soft and creamy.
– Ensuring the Right Consistency: The dough should be thick but smooth. If it feels too dry, add a tiny bit of milk. If it feels too wet, add a bit more flour. Aim for a soft, moldable dough that holds its shape.
Perfecting the Texture
To check if your fudge has the right thickness, use a spoon. Dip it into the mixture. If it holds the shape but is still soft, you’re good. If it runs off too easily, let it chill a bit longer. The right texture is key for that perfect bite.
Serving Suggestions
For a stunning presentation, cut the fudge into neat squares. Place them on a lovely plate. Drizzle some melted dark chocolate on top for flair. You can also sprinkle a few chocolate chips over the fudge. This adds a fun touch and makes it look even more tempting.
Pro Tips
- Chill the Dough: Refrigerating the dough for a longer time can enhance the flavors and make it easier to cut into squares.
- Use Quality Chocolate: Opt for high-quality chocolate chips for a richer taste in your fudge. It makes a noticeable difference!
- Customize Mix-Ins: Feel free to add nuts, dried fruit, or other types of chocolate to personalize your fudge to your liking.
- Store Properly: Keep the fudge in an airtight container in the refrigerator to maintain its freshness for up to a week.
Variations
Flavor Variations
You can easily change the flavor of your fudge. Try adding nuts like walnuts or pecans. Chopped nuts add crunch and richness. You can also swap in dark or milk chocolate chips. Each type of chocolate brings a new taste. For a unique twist, add extracts like almond or mint. Just a teaspoon can change the whole vibe!
Healthier Alternatives
If you want a lighter version, use alternative sweeteners. Stevia or coconut sugar can reduce calories. For a gluten-free option, replace all-purpose flour with almond flour or oat flour. Both work well in this recipe. Just remember, you may need to adjust the liquid to achieve the right texture.
Seasonal Variations
You can make this fudge match the seasons! For fall, try adding pumpkin spice or crushed candy corn. In winter, sprinkle crushed peppermint on top for a festive touch. For summer, try using fresh berries or citrus zest. Each season offers a chance to be creative and enjoy new flavors!
Storage Info
Best Storage Practices
To keep your chocolate chip cookie dough fudge fresh, store it in an airtight container. Line the bottom of the container with parchment paper. This helps prevent sticking. You can place layers of fudge between sheets of parchment. This will keep them from sticking together.
Shelf Life and Freezing Options
When stored correctly, fudge lasts up to two weeks at room temperature. For longer storage, freeze it. Wrap each piece in plastic wrap, then place them in a freezer bag. This will help prevent freezer burn. Properly stored, it can last up to three months in the freezer.
Thawing Instructions
To thaw frozen fudge, take it out of the freezer. Leave it in the fridge overnight for slow thawing. If you need it faster, let it sit at room temperature for about an hour. Avoid using a microwave, as it can change the texture. Enjoy your fudge once it’s soft and ready!
FAQs
Can I use regular chocolate chips instead of mini chocolate chips?
Yes, you can use regular chocolate chips. They will melt a bit more, but the fudge will still taste great. Just chop them into smaller pieces if you want more even distribution. This change can help keep the fudge soft and chewy, which many people love.
How do I know when the fudge is set?
The fudge is ready when it feels firm to the touch. You can press lightly on it. If it holds its shape, it’s set. After chilling for two hours, check if it feels solid. A good test is to insert a toothpick. If it comes out clean, the fudge is ready to cut.
Can I make this fudge ahead of time?
Yes, you can make this fudge a few days ahead. Store it in an airtight container in the fridge. This can save time when you need a quick treat. You can also freeze it if you want to keep it longer. Just wrap it well to avoid freezer burn.
This blog post shared a simple fudge recipe, covering ingredients, steps, and tips. You learned how to mix flavors, avoid common mistakes, and present your fudge beautifully. Remember to chill your fudge long enough for the right texture. Personalize your fudge with optional ingredients or healthier swaps. Store it well to enjoy later. Now, you’re ready to make delicious fudge that impresses everyone! Enjoy baking and sharing your tasty treat