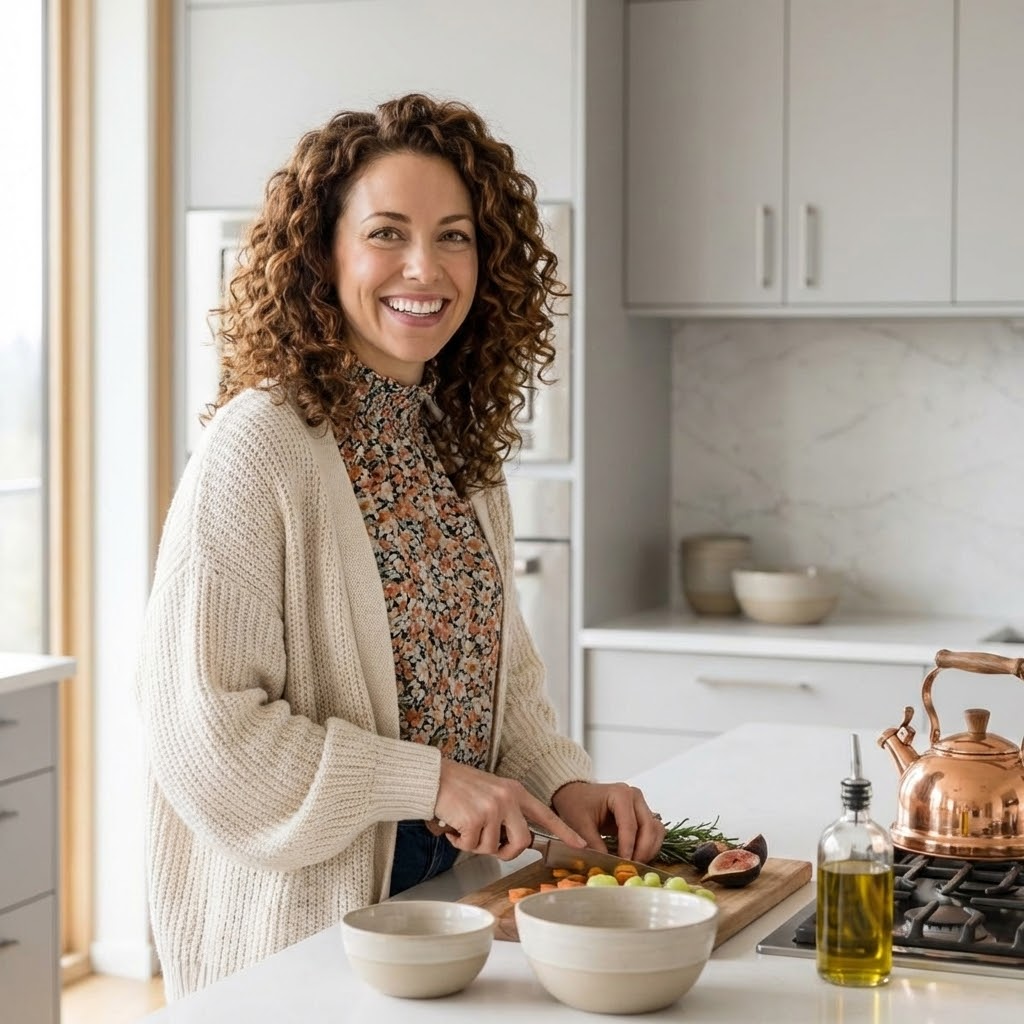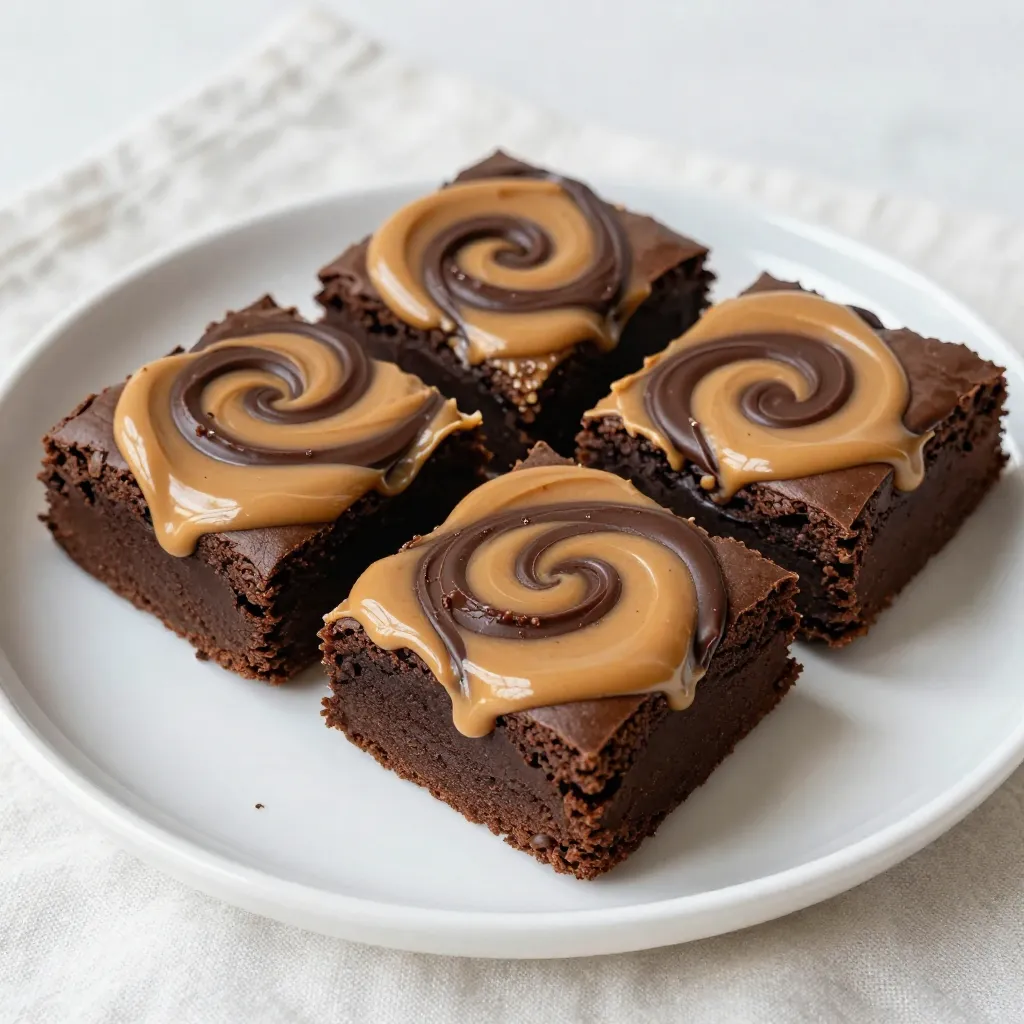
Get ready for a taste explosion with my Peanut Butter Chocolate Swirl Brownies! These sweet treats mix rich chocolate and creamy peanut butter for an irresistible dessert. I’ll walk you through every step, from gathering simple ingredients to baking the perfect batch. Whether you’re a seasoned baker or just starting out, these brownies are easy to make and hard to resist. Let’s dive into this delicious journey together!
Why I Love This Recipe
- Decadent Flavor Combination: The rich chocolate and creamy peanut butter create a delightful contrast that is simply irresistible.
- Easy to Make: This recipe is straightforward, requiring minimal prep and baking time, perfect for a quick dessert fix.
- Perfect for Sharing: Cut them into squares and share with friends or family, making it an ideal treat for gatherings.
- Customizable: Feel free to add nuts, different chocolate types, or even a sprinkle of sea salt for extra flavor.
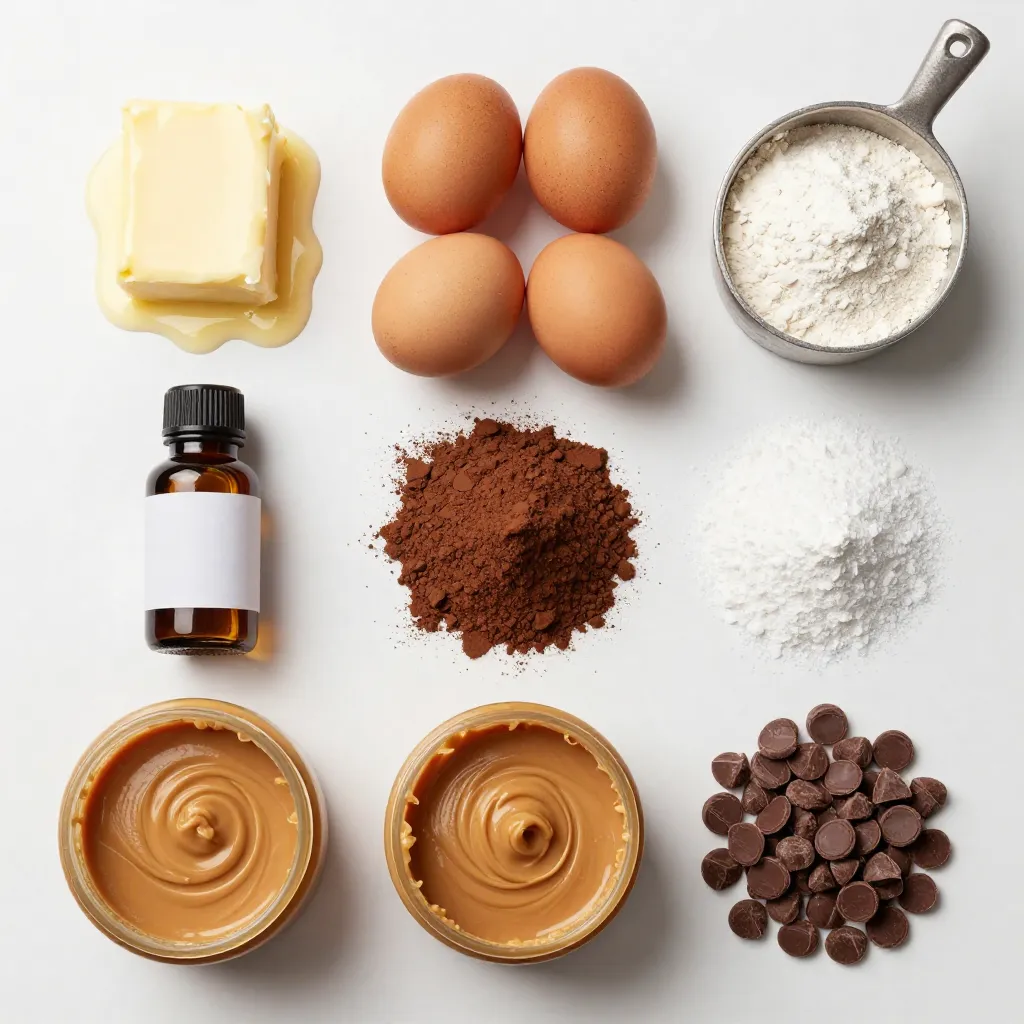
Ingredients
To make delicious Peanut Butter Chocolate Swirl Brownies, gather these simple ingredients:
– 1/2 cup unsalted butter
– 1 cup granulated sugar
– 2 large eggs
– 1 teaspoon vanilla extract
– 1/3 cup unsweetened cocoa powder
– 1/2 cup all-purpose flour
– 1/4 teaspoon salt
– 1/4 teaspoon baking powder
– 1/2 cup creamy peanut butter
– 1/2 cup semi-sweet chocolate chips
These ingredients create a rich, gooey treat with the perfect blend of chocolate and peanut butter. The unsalted butter adds a smooth texture while the sugar brings sweetness. Eggs help bind the mixture, and vanilla adds flavor. Cocoa powder and flour contribute to the brownie base, while salt enhances all the flavors. The baking powder gives the brownies a little lift.
Peanut butter and chocolate chips are the stars. The creamy peanut butter swirls beautifully into the brownie mix, creating a fun marbled look. The chocolate chips add melty pockets of sweetness. When you combine all these elements, you get a treat that is hard to resist. Enjoy this treat warm or cooled. Each bite is a delightful mix of flavors.
Step-by-Step Instructions
Preheating and Preparing the Baking Pan
First, set your oven to 350°F (175°C). While it heats, take an 8×8 inch baking pan. Grease it lightly and line it with parchment paper. Let the paper hang over the edges. This step makes it easier to remove the brownies after baking.
Mixing Wet Ingredients
In a large bowl, add the melted butter and granulated sugar. Whisk them together until smooth. This mix should look shiny. Next, crack in the eggs, one at a time. Stir well after each addition. Finally, add the vanilla extract and mix until combined.
Combining Dry Ingredients
Grab another bowl for the dry mix. Sift together cocoa powder, flour, salt, and baking powder. This helps to break up any clumps. Slowly add this dry mixture to your wet mix. Stir gently until just combined. Do not over-mix; you want soft brownies.
Creating the Swirl Effect
Pour half of the brownie batter into the prepared pan. Spread it evenly. In a small bowl, mix the creamy peanut butter and chocolate chips. Microwave this mix on low for about 30 seconds. Stir until smooth. Drop spoonfuls of this peanut butter mix over the brownie batter. Top it with the remaining brownie batter.
Now, take a butter knife or skewer. Use it to swirl the peanut butter into the brownie batter. This creates a beautiful marbled effect.
Baking Instructions
Place the pan in the oven and bake for 20-25 minutes. Use a toothpick to check doneness. Insert it into the center. It should come out mostly clean with a few moist crumbs. Once baked, remove the brownies from the oven. Let them cool in the pan on a wire rack. Use the parchment paper overhang to lift them out easily later.
Tips & Tricks
Achieving the Perfect Swirl
To get that perfect swirl, use a gentle hand. After you drop spoonfuls of the peanut butter mix, take a butter knife. Lightly drag it through the batter in a figure-eight motion. Don’t overmix! You want to see both chocolate and peanut butter. This gives your brownies that stunning marbled look.
Checking Doneness
To check if your brownies are done, use a toothpick. Insert it into the center of the pan. If it comes out with a few moist crumbs, they are ready. If it has wet batter, give them a few more minutes. Keep an eye on them; overbaking makes them dry.
How to Store Brownies
Once cool, cut the brownies into squares. Store them in an airtight container at room temperature. They stay good for about three days. For longer storage, freeze them. Wrap each square in plastic wrap and place in a freezer bag. They will keep for up to three months.
Pro Tips
- Use Room Temperature Ingredients: Allow your eggs and peanut butter to come to room temperature for easier blending and a smoother batter.
- Check for Doneness: Insert a toothpick into the center of the brownies; if it comes out with a few moist crumbs, they are ready. Avoid overbaking!
- Swirl Technique: For a more defined swirl, drop the peanut butter mixture in small spoonfuls and use a skewer to create gentle swirls without overmixing.
- Storage Tips: Store brownies in an airtight container at room temperature for up to a week, or freeze for longer storage.
Variations
Adding Nuts for Crunch
You can add nuts for a fun crunch. Chopped walnuts or pecans work well. Mix in about 1/2 cup of nuts into the batter. This adds texture and a rich flavor. If you want a nutty twist, sprinkle them on top before baking. They will toast and taste great with the chocolate.
Using Different Chocolate Types
Switch the chocolate type to change the taste. You can use dark chocolate for a richer flavor. Try milk chocolate for a sweeter brownie. If you love white chocolate, mix in some chips instead. Each type brings its own delight to the brownies. Just remember to adjust the sugar if you use very sweet chocolate.
Making it Gluten-Free
To make these brownies gluten-free, swap the all-purpose flour. Use a gluten-free flour blend instead. Make sure it has a good binding agent. Almond flour or coconut flour are great options. You can also use oat flour if you’re not sensitive to oats. This way, everyone can enjoy these tasty treats!
Serving Suggestions
Presentation Tips
To make your brownies shine, cut them into neat squares. Place them on a rustic wooden platter. The contrast of the dark brownies against the wood adds charm. For extra flair, drizzle melted peanut butter and chocolate on top. This gives a nice finish and makes them look even more tempting.
Pairing with Ice Cream
Brownies and ice cream create a perfect duo. Serve warm brownies with a scoop of vanilla ice cream. The cold ice cream melts into the warm brownie, creating a creamy delight. For a twist, try chocolate or peanut butter ice cream. Each bite is a mix of rich flavors that you won’t forget.
Adding Sauces or Toppings
You can elevate your brownies with fun toppings. Consider adding caramel sauce for a sweet twist. A sprinkle of sea salt adds a nice contrast to the sweetness. Crushed nuts can also bring a crunchy texture. Feel free to get creative with your toppings. The options are endless and delicious!
FAQs
How can I make the brownies more fudgy?
To make brownies more fudgy, use less flour. Replace some flour with extra cocoa powder. You can also add an extra egg. This gives more moisture and richness. Another great trick is to bake them for less time. Check them a few minutes early to keep them soft.
Can I use natural peanut butter?
Yes, you can use natural peanut butter. Just remember that it may be a bit runny. Stir it well before adding it to the batter. This might change the texture slightly but will still taste great.
How should I store leftover brownies?
Store leftover brownies in an airtight container. This helps keep them fresh. You can also place parchment paper between layers to avoid sticking. Keep them at room temperature for up to four days. If you want to store them longer, place them in the fridge for a week.
What can I substitute for eggs in this recipe?
If you need an egg substitute, use unsweetened applesauce. Replace each egg with 1/4 cup of applesauce. You can also use mashed banana or a chia seed mixture. Mix one tablespoon of chia seeds with three tablespoons of water. Let it sit for a few minutes until it thickens.
Can I use a different size pan?
Yes, you can use a different size pan, but it will change the baking time. If you use a larger pan, the brownies will bake faster. If you use a smaller pan, they will take longer. Keep an eye on them and do the toothpick test to check for doneness.
To make these brownies, you need simple ingredients and clear steps. We covered the key items, from butter to chocolate chips. You learned how to mix wet and dry ingredients and create a swirl effect. Tips for perfect texture and storage will help you bake well. With variations such as nuts or gluten-free options, these brownies can suit many tastes. I hope you enjoy baking these treats and feel confident to try them your way. Happy bakin